I've been wasting all kinds of time on Pinterest.com during this slow season for birthday parties and festivals. It has inspired me to do a lot of crafting so I thought I would put some of those projects here, on my neglected blog.
Here's my best idea by far!
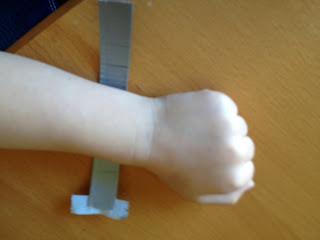
If you are going to a place where your children might get separated from you, make them a duct tape bracelet with your phone number on it!! It's great for amusement parks, fairs, festivals, anywhere there will be big crowds.
Here's a simple version:
...and you can get fancy with it if you like with duct tape that has a cool pattern or color.
This is how I make them:
1. Measure your child's wrist. You will want the bracelet just a little loose so it's comfortable to wear but can't fall off. Add about a 1/2 inch for overlap.
2. Tear a length of duct tape a tiny bit longer than the length you want it to end up. Hint: if you cut it, you'll get sticky stuff all over your scissors so at this point, tear it. Place the tape sticky side up on the table.
3. Fold it in thirds length wise. The side that is up will have a seam so this will be the inside.
4. Trim the ends to be the right length with scissors and round off the corners with scissors.
IF THIS IS FOR FUN/LOOKS:
6. You'll want it to be removable and re-usable so add a bit of sticky-back Velcro or other brand hook-loop to the ends. You'll probably want the side facing the arm (stuck to the inside of one end of the bracelet) to be the soft side of the Velcro and the ruff/scratchy side facing out (stuck to the outside of the other end of the bracelet) Notice how the pieces of Velcro are actually stuck to different sides of the bracelet so when they are wrapped around the wrist they'll stick together. Note: I did have to trim the Velcro's width a tiny bit. Cut it before you remove it from the backing.
-OR-
IF THIS IS FOR ONE TIME USE WITH A PHONE NUMBER:
6. You'll probably want to tape it on. In that case, cut a small piece of tape about 1/4 to 1/2 inch. At this point, you can put the tape on some wax paper and use scissors to cut it and then peel the piece off of the wax paper.
7. Wrap the bracelet around your child's wrist, overlap 1/2 inch. Put the small piece of duct tape around the overlap.

.JPG)


